
Free Crochet Hooded Sweater Patterns and How to Adapt Them to Your Size
How to pick a free crochet hooded sweater pattern that fits: yarn weight, gauge swatching, hood construction methods and the adjustments that prevent a droopy hood.
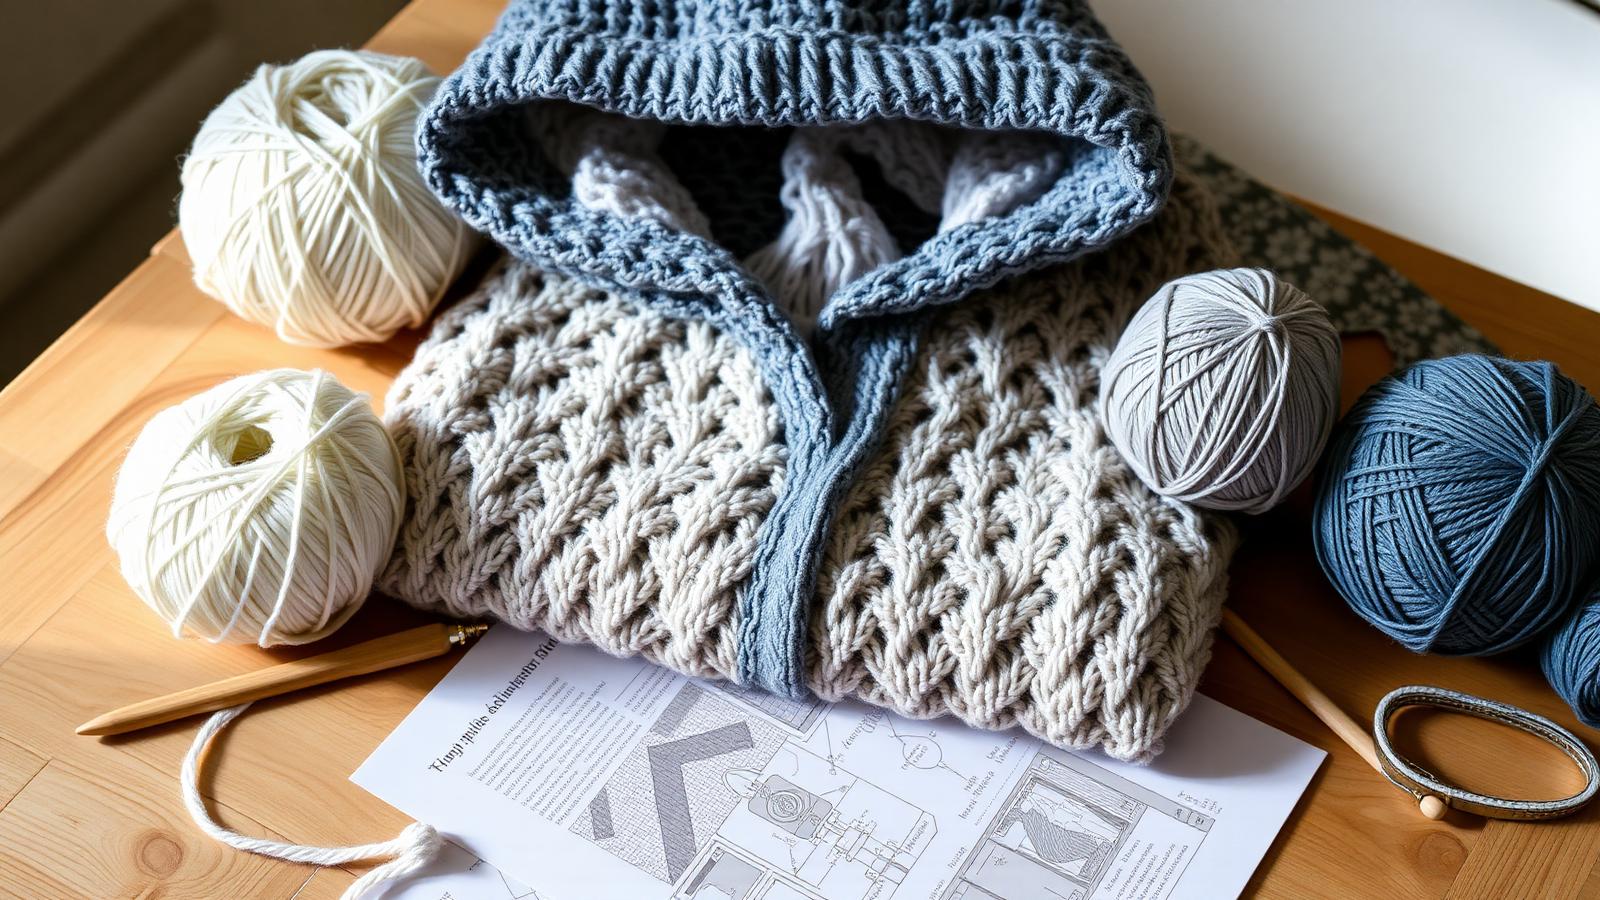
A hooded sweater is the project where most crocheters first meet real garment construction: shaping, ease, and a hood that has to sit correctly without pulling the neckline back.
Free patterns are plentiful, but their quality varies. This guide shows how to judge a pattern before you start, and how to adjust it so the finished piece fits the person wearing it.
How to judge a free pattern before casting on
- It states gauge as stitches and rows over 10 cm / 4 inches. No gauge means no predictable fit.
- It lists finished garment measurements, not only 'S / M / L'.
- It names yarn weight (DK, worsted, aran) rather than a single brand.
- It explains hood construction, not just 'work the hood'.
- It has been tested — look for finished projects by other makers.
Choosing yarn and hook
| Yarn weight | Typical hook | Fabric | Best for |
|---|---|---|---|
| DK | 4.0 mm | Light, drapey | Layering hoodies |
| Worsted | 5.0-5.5 mm | Balanced | All-round first sweater |
| Aran | 6.0 mm | Warm, structured | Outdoor hoodies |
| Chunky | 8.0 mm | Fast, heavy | Oversized styles |
Gauge swatching without wasting an evening
- Crochet a swatch at least 15 cm square in the pattern stitch, not plain single crochet.
- Wash and dry it the way you will wash the sweater.
- Measure in the middle, never at the edges.
- Too many stitches per 10 cm means go up a hook size; too few means go down.
- Recheck once after the change — one adjustment is usually enough.
Three ways to build the hood
Rectangle folded and seamed
Simplest method: work a rectangle from the neckline, fold it in half and seam the top. Fast, but slightly boxy.
Shaped with decreases
Decrease at the back over the last few rows for a rounded fit. Best balance of effort and appearance.
Three-panel hood
Two side panels and a centre strip. Most tailored result and the version that sits properly when the hood is down.
Pros
- Free patterns cover every skill level
- Easy to customise length and sleeves
- Great use for stash yarn
Cons
- Quality of free patterns is inconsistent
- Sizing charts are often incomplete
- Hood weight is rarely discussed
Common fit problems and fixes
| Problem | Cause | Fix |
|---|---|---|
| Hood pulls the neckline back | Hood too heavy or too deep | Reduce depth by 3-4 cm, add ribbed edge |
| Sleeves too tight | No ease at the upper arm | Add 2 stitches per underarm increase round |
| Body grows after wearing | Fibre with poor recovery | Blend with wool or add a ribbed hem |
| Shoulders droop | Gauge looser than stated | Go down one hook size |
Adding Kangaroo Pockets and Custom Edge Details
Drafting a customized front pouch is one of the most rewarding modifications you can make to a crochet hoodie pattern. A functional kangaroo pocket not only adds functional warmth for your hands but also creates that iconic casual aesthetic seen in ready-to-wear loungewear. When adding a pocket to a beginner crochet sweater, timing and placement are critical. You will want to map out the pocket dimensions before assembling the main front panel so the proportions sit comfortably above the bottom hem band without overwhelming the waistline.
To construct a classical slanted kangaroo pocket, begin by crocheting a flat rectangular base that matches the desired width of your lower torso. As you work upward, create soft diagonal edges by executing decreases at the start and end of alternating rows. This slanting technique allows your hands to slip in naturally without causing the pocket mouth to gape open over time. Once the target height is reached, fasten off and block the pocket piece thoroughly to ensure flat, clean edges.
Step-by-Step Attachment for Seamless Results
Mastering Seaming and Assembly Techniques for Longevity
Creating a professional finish on a crochet hooded cardigan or pullover often comes down to the quality of your seaming techniques. While it is tempting to use a standard whip stitch throughout the entire garment, different structural zones require distinct join methods. Flat mattress stitch seams are ideal for joining shoulder seams and attaching sleeve caps because they distribute tension evenly without adding bulk under the arms. When assembling thick textured yarns, a slip stitch join worked through back loops creates a sturdy, flexible structural rib that supports garment weight.
The transition zone where the base of the hood meets the neckline neckline demands extra reinforcement. Because the weight of a crocheted hood pulls downward when worn off the head, standard single-thread seams can stretch or tear over time. Working a row of surface slip stitches around the entire inner neck hole prior to hood attachment creates a stable anchor chain. You can then sew or crochet the hood directly into these stable loop anchors, ensuring long-lasting durability through daily wear and washing.
Finishing your edges with polished ribbing elevates free crochet hooded sweater patterns from handmade projects to store-quality garments. Front-post and back-post double crochet ribbing offers excellent elasticity for sleeve cuffs and waistband trims. If you prefer a flatter, minimalist hemline, try working single crochet in the back loop only along perpendicular rows, slip-stitching each row to the main body edge as you go.
Adapting Pullover Patterns into Open-Front Cardigans
Modifying a standard raglan or drop-shoulder pullover into an open-front crochet hooded cardigan gives you incredible wardrobe versatility. The primary structural adjustment involves splitting the front body width into two separate panels, incorporating additional margin width for a front placket or zipper tape. When calculating stitch counts for the front pieces, remember to add two to three extra stitches per side to account for seaming allowance and overlap flexibility.
Calculating Placket Widths and Closure Spacing
If you plan to install a zipper, work your front panel edges in a dense, low-stretch stitch like extended single crochet. This creates a smooth, rigid column that prevents the zipper teeth from catching on decorative yarn loops. For buttoned cardigans, plan your buttonhole placements directly into the final edging rows using simple chain spaces. Space the buttonholes evenly from the hem up to the base of the hood, ensuring the top button rests securely at the collar line to keep cold drafts out.
Attaching a hood to an open-front cardigan requires a slightly different approach than a continuous pullover neck. The hood brim must extend fully across both front placket edges to create a cohesive collar line. Start by joining the hood fabric at the outer corner of the left placket, work all the way around the back neck curve, and finish at the outer corner of the right placket. This ensures that when the cardigan is fully buttoned or zipped, the hood frames the face cleanly.
Best Stitches for Balanced Hood Texture and Drape
Selecting stitches that offer the right balance of drape, opacity, and structure is crucial when working on a beginner crochet sweater with an attached hood. While openwork lace stitches are lovely for summer wraps, sweater hoods require stable fabrics that hold their shape without sagging or stretching out of proportion under their own weight. Half double crochet worked in the third loop creates a beautiful knit-like texture with minimal holes, making it a prime candidate for cozy winter hoodies.
Another exceptional option for hooded garments is the alpine stitch, which alternates standard double crochet with front-post double crochet rows. This creates a rich, diamond-textured face that traps warm air while offering excellent vertical stability. Because textured stitches consume more yarn than basic flat stitches, always purchase an extra skein or two beyond what the standard free crochet hooded sweater patterns specify to avoid running out during hood shaping.
Frequently asked questions
- How much yarn does a hooded sweater take?
- Roughly 1,100-1,600 m of worsted for an adult medium, including the hood. Buy one extra skein of the same dye lot.
- Is a hoodie a good first garment?
- Yes, if you choose a top-down raglan. It is worked in one piece with minimal seaming.
- Can I skip the gauge swatch?
- Only if you are willing to accept whatever size results. Gauge is the difference between a sweater and a blanket.
- Which stitch keeps the fabric light?
- Half double crochet in the third loop, or an extended single crochet, both drape better than dense double crochet.
- How do I convert a pullover crochet hoodie into an open cardigan?
- To turn a standard crochet hoodie pattern into a cardigan, simply split the front panel into two equal halves, adding 1 to 2 inches to each center edge for a button band or zipper placket. Work the back and sleeves as directed. When constructing the hood, attach it across the back neckline and extend it along the tops of both front plackets.
- Why is my crocheted hoodie fabric feeling too stiff and heavy?
- Beginner crochet sweater projects often use basic stitches like single, half double, or double crochet. While these create cozy garments, heavy yarns or tight tension can result in a stiff fabric. To maintain a soft drape, use a hook size 1 to 2 sizes larger than recommended on the yarn label, choose lightweight fibers like acrylic-wool blends, and keep your stitch tension relaxed.
- Can I add kangaroo pockets to any beginner crochet sweater pattern?
- Yes, you can easily add pockets to almost any free crochet hooded sweater pattern. Simple patch pockets can be crocheted separately as squares or rectangles and sewn directly onto the front panels. For a seamless kangaroo pocket, join your yarn directly onto the front waist section and work upward while shaping the diagonal pocket openings with slanting decreases.
- How do I stop my crochet hood from dragging the neckline backward?
- Avoid heavy, thick embellishments that add weight to the hood, as they will pull the neckline backward and distort the shoulder seams. If your hood droops, consider adding a lightweight ribbon or cord casing along the front brim to cinch it comfortably around the face, or secure the hood base to the collar with reinforced slip-stitch edging.
Conclusion
Pick a pattern with real gauge and finished measurements, swatch once, then choose your hood method based on how tailored you want the result. Those three decisions determine almost everything about the finished sweater.
Keep reading
- Free Printable Bunco Score Sheets and How to Run a Smooth Game Night
- Free Composite Decking Samples: What to Request and How to Test Them
- أكواد فري فاير: كيف تستبدل الأكواد رسميًا وتتفادى المواقع المزيفة
- شحن جواهر فري فاير بالـ ID: الطرق الرسمية والفروق في السعر
- راهنمای جامع سایت ردیم کد گارنا فری فایر و ثبت جوایز
- دليل إعدادات ببجي الاحترافية لتحديد الأزرار والحساسية والصوت
- شحن شدات ببجي: الطرق الآمنة عبر الايدي والمتجر والبطاقات
- حقيقة هاك ببجي والنسخ المهكرة: لماذا تعرّضك للخطر وكيف تحمي بياناتك
Related articles

Free Printable Bunco Score Sheets and How to Run a Smooth Game Night
Everything you need to print Bunco score sheets that actually work: what each column means, how many sheets per table, paper settings and a clean scoring flow.
9 min read
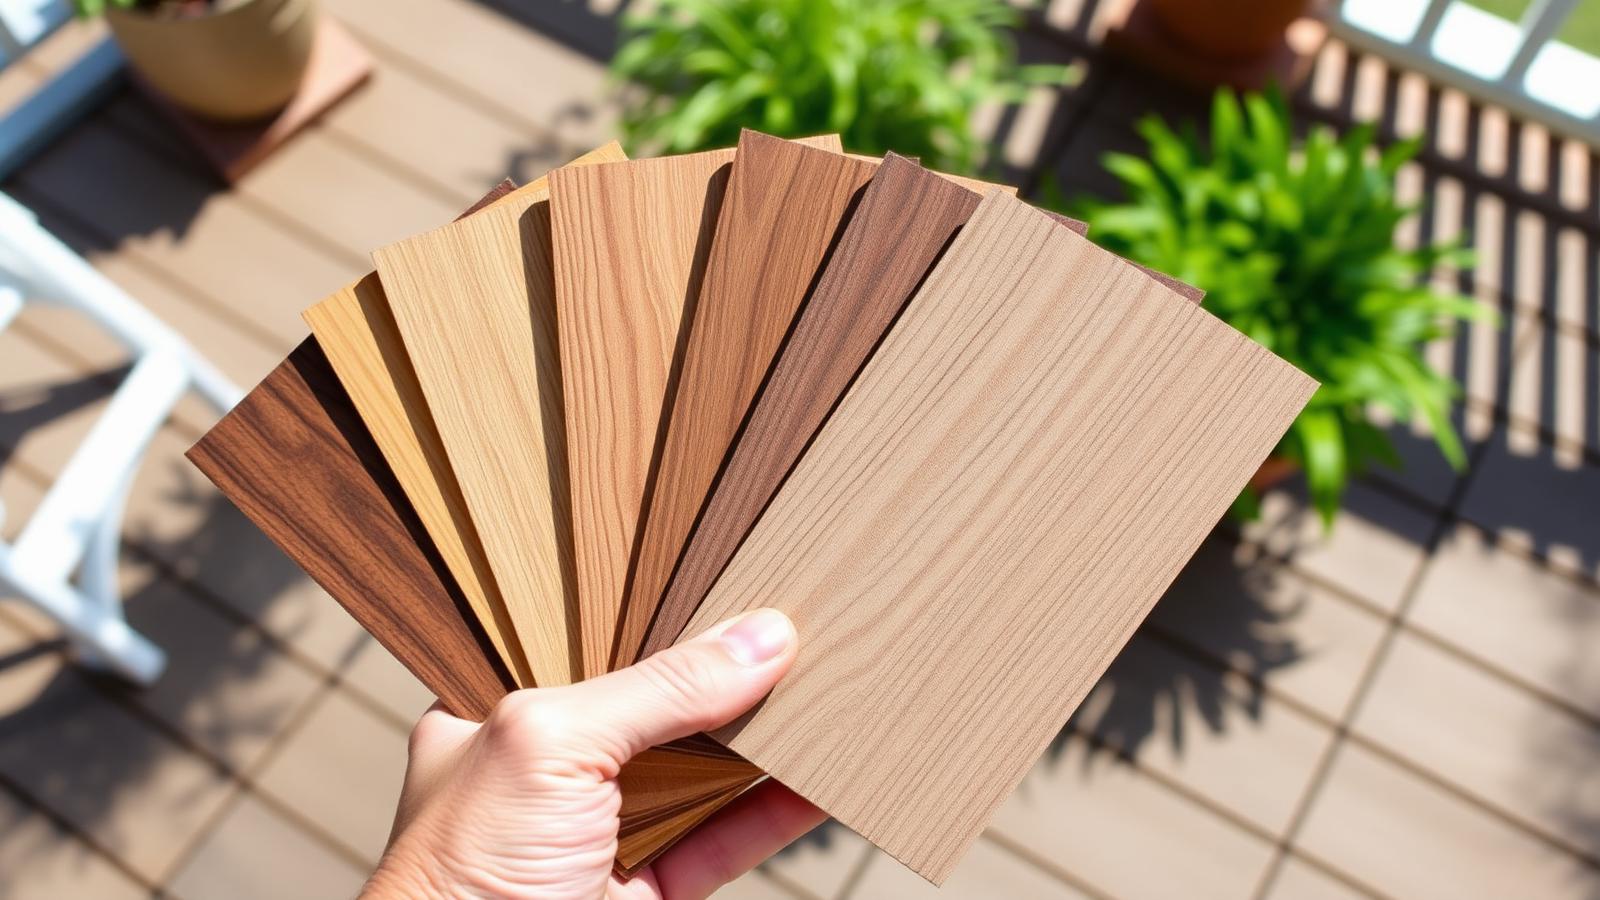
Free Composite Decking Samples: What to Request and How to Test Them
How to order free composite decking samples, what a sample can and cannot tell you, and a simple outdoor test that reveals heat, fade and slip performance before you buy.
8 min read
أكواد فري فاير: كيف تستبدل الأكواد رسميًا وتتفادى المواقع المزيفة
دليل عملي لاستبدال أكواد فري فاير عبر الموقع الرسمي، مع شرح شكل الكود الصحيح، أسباب رسائل الخطأ، وكيف تميّز مواقع الاحتيال قبل أن تخسر حسابك.
8 دقيقة قراءة

شحن جواهر فري فاير بالـ ID: الطرق الرسمية والفروق في السعر
شرح كامل لشحن جواهر فري فاير عبر المتجر الرسمي وموقع الشحن بالـ ID والبطاقات المدفوعة، مع مقارنة التكلفة وعلامات المتاجر غير الموثوقة.
7 دقيقة قراءة
راهنمای جامع سایت ردیم کد گارنا فری فایر و ثبت جوایز
آموزش کامل ثبت کد در سایت ردیم کد فری فایر، دانلود فری فایر با لینک مستقیم، دریافت ردیم کد امروز و نکات ایمنی جلوگیری از کلاهبرداری اکانت.
11 دقیقه مطالعه
دليل إعدادات ببجي الاحترافية لتحديد الأزرار والحساسية والصوت
تعرف على أفضل إعدادات ببجي الاحترافية: ضبط ازرار ببجي، الحساسية، السماعات المحيطية، قيادة سيارات ببجي، ورفع شعبية ببجي بطرق آمنة ومضمونة.
11 دقيقة قراءة
One useful guide a week
No spam, no daily digest. Just the guides worth reading.
Published by KnowSphere. Guides are reviewed and updated when platforms change their rules.